Notes:
If you bought more then one card it's best to
install them one at a time.
It doesn't matter which card you install first.
If you have an A card then sure you should start with it but it's
not required.
You can start with
the A, B, C or D. It doesn't matter at this point of the
installation. What does matter is that you make note of what card
you are installing. You will need to know this letter later to set up the
cameras in the WebNetEyes software.
First thing you need to do is turn off your computer.
Install the card in a unused slot in your computer.
Make sure take note of the cards letter A, B, C or D that your
putting in.
Make sure that the card is installed snuggly in it's slot. A common
problem is the back edge of the card being slightly raised out of
the PCI slot after it's screwed down. If this happens you will not get video from the
cameras. Make sure that you do screw it down. Not doing so may
let the card slip out when your connecting the cameras which can
cause damage to your PC or the video card and you don't want
that.
As a rule I never put the cover back onto the PC until everything is
up and working because you may need to come back if things don't go
right.
Connect
your cameras to the four video inputs of the card.
Connect power to the cameras.
It's always a good idea to test the cameras on your TV before
connecting them to your computer to ensure that they are working
properly to rule them out as a source of any problems that might
arise during the installation.
It's best to connect all four cameras to prevent confusion about
which port your connected to. Make sure that you don't plug any of
the cameras into the TV out port.
Note: The TV out port is a simple video pass through. It's not a
video out. It's a video pass through. You will only get video form
one camera on the pass through port, not all four cameras. By
default it's connected to input 1. There are jumpers on the card
that are labeled. You can move the video pass through to input 2,3
or 4 by moving the jumper. Again, the jumpers are labeled.
Turn on the pc and put the WebNetEye cd in the CD ROM drive
quickly.
If you
wait until windows in done loading before you put the CD in the auto run feature kick in. We
don't want that just yet but we do want the CD in the drive. If the
auto run loads. Click on the EXIT option.
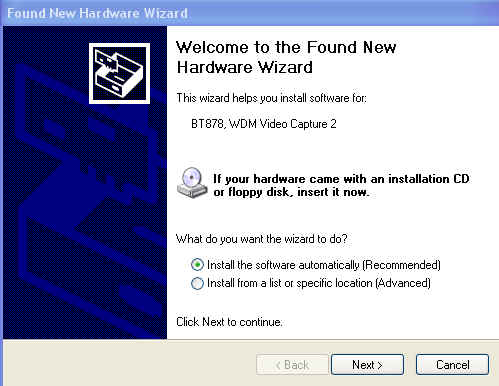
Once windows has loaded the new hardware found wizard will pop up
and say new hardware found. By default the top radio button is
selected. We don't want that. Select the bottom button.
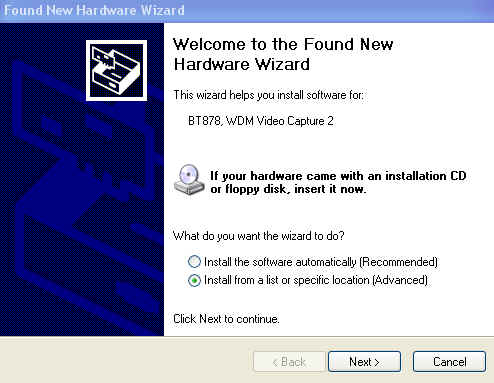
We
want the bottom radio button to be selected
"Install from a specific location" as shown below. Click
on the NEXT button.
Click on the Browse button as shown below.

Now
click on the + sign in front of My Computer
Then Click on the + sign in front of the D: Drive "or
whatever letter your CD is in"
Then Click on the + sign in front of the CA-801 directory
Then click on the Driver folder.
Then click on OK.
Or instead of doing all that you can simply type in the location as
show below.
This is what you should see after you click on the OK button from
above.
Now click on NEXT
Now You will see this screen. Click "Continue
Anyway"
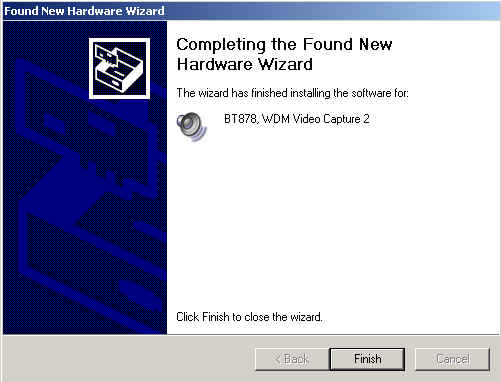
Now Click on the "Finish" button
Now
wait anywhere from 5 to 30 seconds depending on the speed of your
PC. Windows will find new hardware again. You will need to go
through this process two times for each card you install in the
computer.
The
first time through you will see
"BT878, WDM Video Capture"
and on the second time through you will see
"BT878, WDM Audio Capture"
I'm not sure why there is an audio
capture. I think it's a trick they are doing to use the audio
channels for video but if you some how manage to figure out how to
get this system to record audio let me know. I will pay you! Ha!
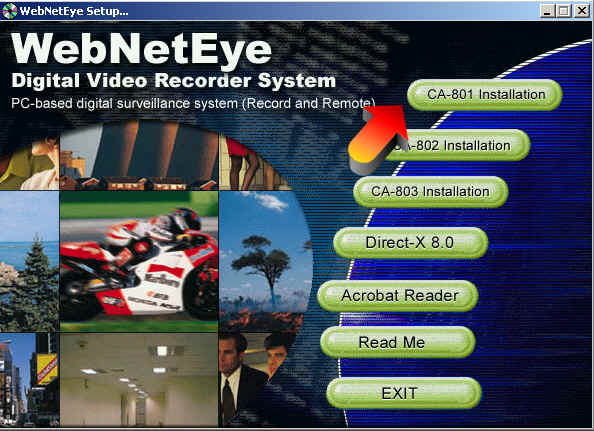
Now pop the CD out and back in again. This will cause the auto run
to bring up the software installation program.
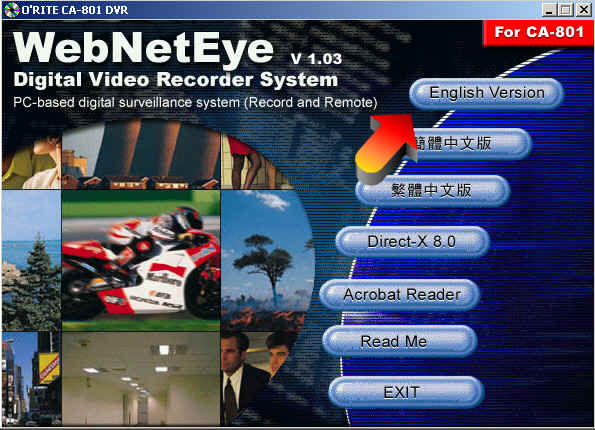
Select the CA-801 Installation option as shown below.
Now select the English option as shown below
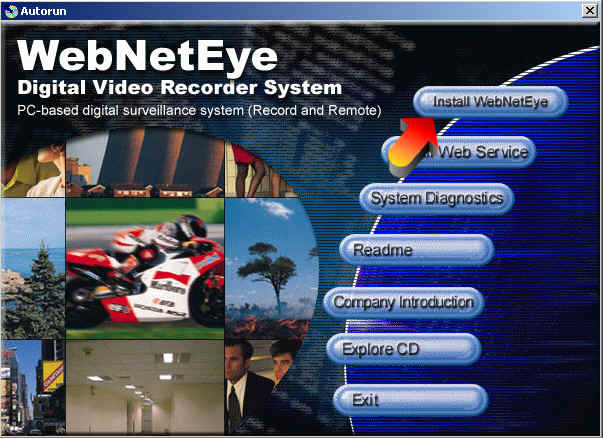
Now select the Install WebNetEye Option as shown below
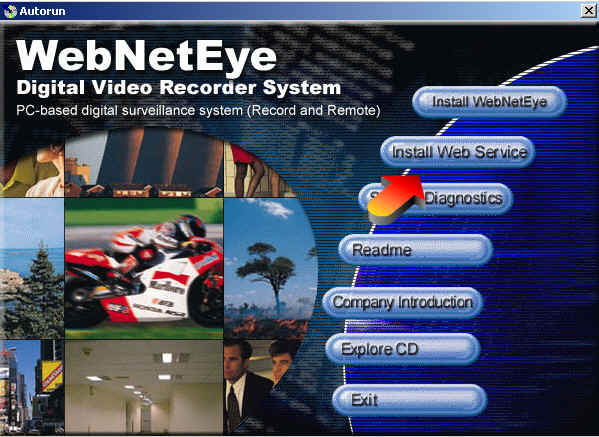
Now
select Install Web Service as shown below only if you plan on
accessing your cameras over the internet. If don't plan to use this
feature don't install it.
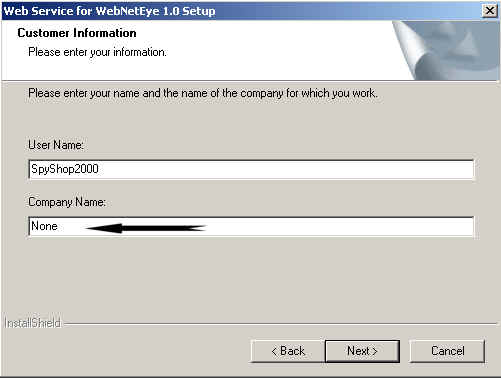
You must type something into the COMPANY name as seen below
Keep clicking next on the rest of the screens until your asked if
you want to restart your computer and let the computer be
restarted.
